Working on a farm, especially at night or in poor weather, demands maximum visibility. While your Kubota RTV's standard headlights provide some illumination, adding an aftermarket hazard light kit significantly enhances safety. This comprehensive guide details the benefits, selection process, installation, and maintenance of such kits, helping you choose and install the ideal solution for your needs.
Understanding the Need for Enhanced Visibility
Operating a Kubota RTV in low-light conditions presents significant safety risks. Limited visibility increases the chance of collisions with other vehicles, obstacles, or even personnel. Standard RTV lighting often proves inadequate, especially in challenging environments like fog, dust, or early mornings. Adding a hazard light kit dramatically improves your visibility to others, acting as a crucial safety precaution. While precise accident statistics for RTVs and poor lighting are difficult to find, common sense underscores the critical need for enhanced illumination. Investing in better lighting isn't just about convenience; it's about proactive safety. Don't wait for an accident to illuminate the importance of improved visibility.
Selecting the Right Hazard Light Kit
Choosing the right hazard light kit for your Kubota RTV involves careful consideration of several factors. The best kit isn't just about price; it's about performance, reliability, and ease of use.
Key Features to Consider
| Feature | Description | Considerations |
|---|---|---|
| Light Type | LED (Light Emitting Diode) vs. Incandescent. LEDs are generally preferred for their superior brightness, longevity, and energy efficiency. | LEDs offer brighter light, consume less power, and last significantly longer, making them a better value in the long run. |
| Brightness (Lumens) | A measure of light output. Higher lumens mean brighter illumination. | Prioritize kits offering high lumen output for optimal visibility in various conditions. |
| Mounting Options | Where the lights will be mounted (front, rear, or both). | Consider placement for maximum visibility without obstructing your view or the RTV's operation. |
| Ease of Installation | How straightforward the installation process is. Look for kits with clear instructions and minimal specialized tools. | Kits with simple, well-illustrated instructions make DIY installation easier, saving time and potentially labor costs. |
| Regulatory Compliance | Compliance with relevant safety standards (e.g., SAE, ANSI). While finding this data can be challenging, look for reputable suppliers and certifications. | Ensure your chosen kit complies with all applicable safety regulations to avoid potential legal issues and ensure safe operation. |
| Pricing & Value | Consider upfront cost alongside long-term cost savings (energy efficiency, bulb lifespan). | Balance initial investment with the long-term benefits of a durable, energy-efficient kit. |
Don't hesitate to check online reviews from other Kubota RTV owners to gain insights into real-world experiences with different kits.
Installing Your Hazard Light Kit: A Step-by-Step Guide
Disclaimer: Electrical work can be hazardous. If uncomfortable, consult a qualified mechanic. Incorrect installation may damage your RTV or create safety hazards.
Safety First: Always disconnect the negative terminal of your RTV's battery before beginning any electrical work.
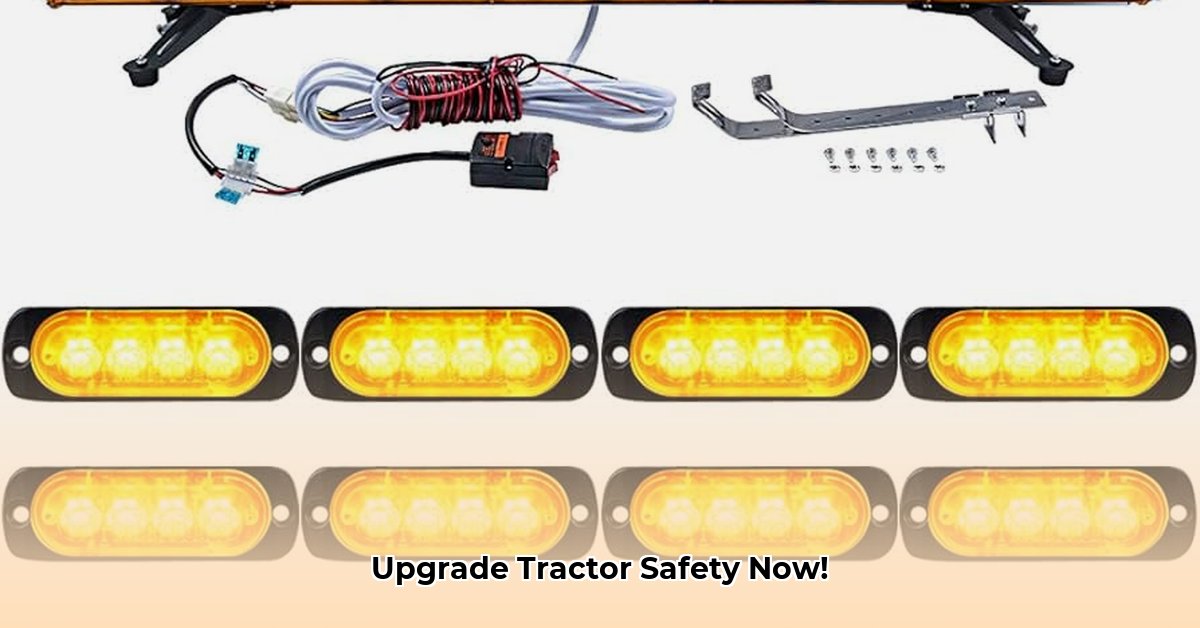
- Preparation: Gather all parts and carefully read the instructions. You'll likely need screwdrivers, wire strippers, wire connectors, and possibly a drill.
- Mounting Location: Choose locations that offer maximum visibility without obstructing operation. Consider existing light placement to avoid overlaps.
- Secure Mounting: Attach the lights using the provided hardware, ensuring a firm and vibration-proof mount.
- Wiring: Follow the wiring diagram precisely, using color-coded wire connectors. Insulate all connections thoroughly. Refer to your RTV's wiring diagram if needed.
- Testing: Reconnect the battery and thoroughly test all lights. If any malfunction, double-check connections.
- Final Inspection: Verify all lights function correctly, wiring is secure, and there are no potential hazards.
Maintenance and Troubleshooting
LEDs generally require minimal maintenance. Regularly inspect the lights and wiring for damage or loose connections. Replacing a burned-out bulb (if applicable) is usually straightforward; refer to your kit's instructions. If a light malfunctions, check the fuses before troubleshooting further.
Conclusion: Prioritize Safety
Investing in a high-quality hazard light kit for your Kubota RTV is a worthwhile investment in safety. Improved visibility significantly reduces the risk of accidents, protecting you and others. Research thoroughly, select a reputable kit, and carefully follow the installation instructions. Remember, seeking professional help if you are unsure is always the safest approach. Prioritize safety in all your farm operations.